

It never fails. Ever.
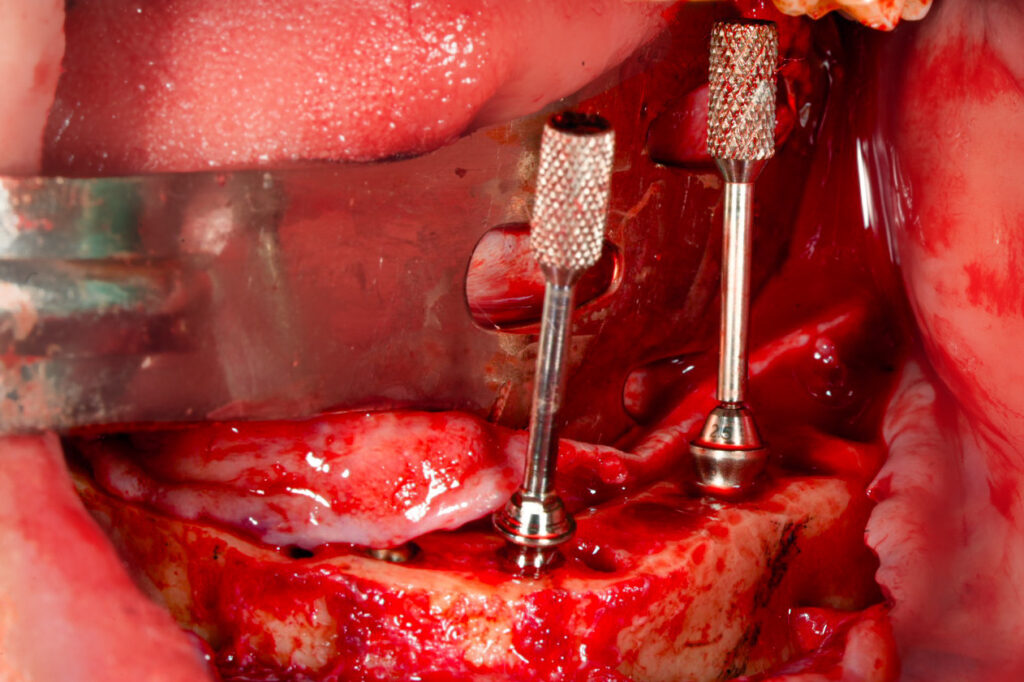
I’m in the middle of an extremely difficult case and all the torque I can muster up on a particular implant is 25 N-cm. My composite torque is adequate, so I move forward with abutment placement in order to load.
After verifying abutment angulation, I start to remove the abutment guide pins to begin placing healing caps and closing.
But wait! Ahhhhh?! Of course the 25 N-cm implant guide pin is on sooooo tight and will not come off?!
Why is it always the low torque implant that seems to have a guide pin that is stuck! This is the one implant I do not want to be messing with or putting excess force on!?
What now???
Well… Here are 3 steps I take to protect a low torque implant when removing an abutment guide pin that is “stuck”.
1. Hold the abutment with a small rongeur or hemostat.
- This prevents any rotation of the low torque implant when notable rotational force is applied to the guide pin.
- I hold the abutment and my assistant will loosen the guide pin.
2. For exceptionally tight guide pins, hold the abutment with a small rongeur or hemostat and utilize a lever arm to loosen the pin.
- As mentioned above, rotational forces are prevented by stabilization with a rongeur or hemostat.
- However, in this truly “stuck” scenario, I hold the abutment and have my assistant utilize a needle driver at a 90 degree angle to the guide pin to act as a lever arm. A rotational force is applied to the pin in order to loosen it.
- Ensure you maintain the 90 degree path. If you apply force at an off angle you can break the guide pin off in the abutment.
- If a fracture of the guide pin does actually occur – don’t stress – just switch out to a new abutment.
3. Loosen all abutment guide pins slightly, before placement in the mouth.
- I finally outsmarted that pesky pin. The easiest way to solve this problem is simply to prevent it in the first place.
- I now have my assistant loosen each guide pin before handing them to me. After loosening the pins, they are re-tightened, but only to a true, gentle “finger tight” torque. This ensures the guide pins can easily be removed on a low torque implant without the fear of rotating the implant itself.
Hope this helps when you’re feeling stuck…
Matthew Krieger DMD
Interested in taking your full-arch skills to the next level?
“It’s the little details that are vital. Little things make big things happen.”
John Wooden
Q & A with Dr. K
“What is your drilling protocol? Do you under-prep your osteotomies?”
For a routine case, with average bone, I perform the following drilling sequence *for the Neodent Helix implant.
Maxilla: Prepare to a 3.5mm width. Place a 4.0mm width implant.
Posterior Mandible: Prepare to a 4.0mm width – but only extend the drill half the length of the osteotomy. Place a 4.0mm width imlpant.
Anterior Mandible: Prepare to a 4.0mm width – the entire length of the osteotomy. Place a 4.0mm width implant.
This typically generates torque in the range of 45-60+ N-cm.