
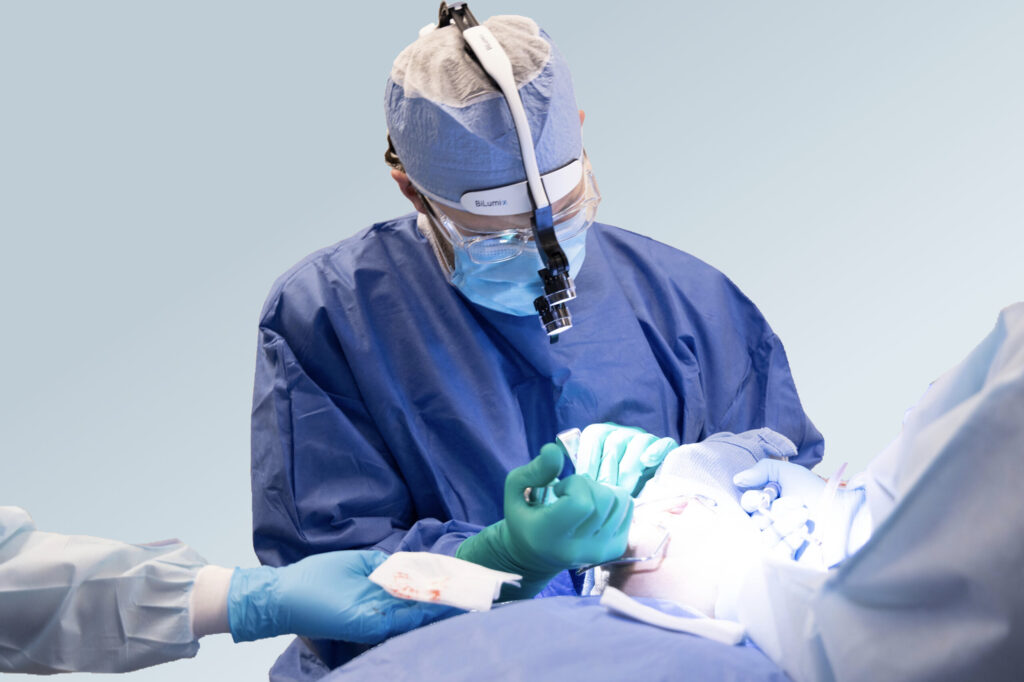
If you aren’t fracturing some roots, you aren’t taking out enough teeth. It happens.
Here’s how I manage a fractured root and/or root tip during AOX surgery:
First of all, I don’t stress about it one bit. Not even for a second.
- I will admit that fishing out a root tip on a maxillary molar for a single tooth extraction, can be stressful and simply unpleasant for all parties involved.
- But, that’s not us. We are doing All-On-X surgery, not single tooth extractions. So we need to think like an All-On-X surgeon. A fractured root doesn’t bother us at all.
When I fracture a root/root tip, I tell my non-chairside assistant (while staying focused on my surgical field): “Fractured #12 Palatal” or “Fractured #3 Mesial”.
- I then move immediately on and continue removing the remaining teeth.
- Meanwhile, my assistant takes a sterilized surgical pencil and writes #12P or #3M on the sterile wrap covering the mayo stand. This ensures I do not forget which roots/root tips were left behind.
I then continue removing the remaining teeth, make incision, reflect my flap and mark my bone reduction line with a sterile #2 pencil.
- At this point, I take one quick glance at the sockets we had written down. If the root is visible at the crest after flap reflection, I will remove it at this time. This is normally accomplished with a 150 forcep. The root and surrounding bone is engaged with the forcep and a portion of the buccal plate or palatal wall will typically be removed with the root.
- Why do I do this? While I could wait until after bone reduction, I prefer a pristine, level, smooth alveolar crest following my reduction. Therefore, I attempt not to have to do any further extractions/root removal when my reduction is complete, as this may require additional removal of bone on the already flat bone shelf.
- I am also not concerned about removing a portion of the palatal bone or buccal plate prior to reduction because I know my reduction will extend below that region.
- Finally, there are times where a root that is left near the crest will get spun out by the bur during bone reduction. While this is fine and the ultimate goal is accomplished, it can leave you with some uncertainty.
- If the root was in a hard to visualize area it may not be clear as to whether you did actually remove the root? Where did it go? On the floor? In the airway? And/or did it fracture into a smaller tip now at the base of the socket?
- For all of these reasons, I take the extra step to remove what roots I know that I can easily and efficiently remove before my bone reduction.
If the root is not visible at the crest, and is truly a root “tip”, I proceed with my bone reduction.
- Following reduction, the increased access and direct vision normally allows the root “tip” to be removed with a root tip pick.
- Occasionally, I will have to utilize a handpiece. My goal at this point, however, is to avoid any significant troughing or bone removal in order to maintain a smooth, flat, shelf-like bone reduction throughout the ridge.
Finally, I call out the tooth root/root tip as it is removed and my assistant then crosses it off the sterile mayo covering.
- We now have confirmation that ALL roots/root tips have been removed and we can move confidently forward with implant osteotomies.
Enjoy these “Root… Tips”.
Matthew Krieger DMD
Interested in taking your full-arch skills to the next level?
“A good system shortens the road to the goal.”
Orison Swett Marden
Q & A with Dr. K
“In a narrow, V-shaped palate, would you still use the Inverted V Configuration?”
Yes.
In this scenario however,I will move my anterior implant osteotomies from sites 7/10 to sites 8/9.
This brings the implant sites anterior on the V-shaped palate and prosthetic so that the access holes are more favorable and the anterior cantilever is eliminated.
I prefer this to a 5-implant configuration. As mentioned previously, I almost never place a midline implant.