

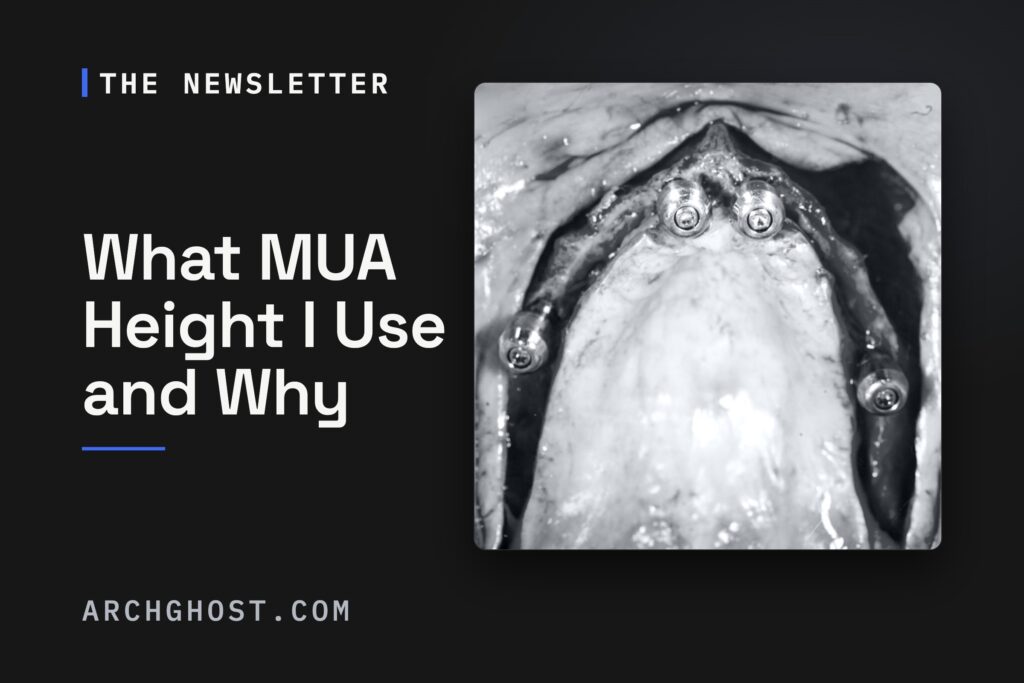
Depending on your implant system of choice, you will have different MUA abutment heights to choose from to help restore your full-arch surgery.
I have the option of a 1.5 mm, 2.5 mm, and 3.5 mm MUA height.
Estimate of MUA Height Selection
85% of the time, I utilize a 2.5 mm MUA height.
14-15% of the time, I utilize a 1.5 mm MUA height.
<1% of the time, I utilize a 3.5mm MUA height.
As you can see, the vast majority of the time, I utilize a 2.5 mm MUA. Here are the two principal reasons why:
1. A 2.5 mm MUA almost always provides adequate abutment height, allowing both the abutment and prosthetic screw access sites to be easily visible and accessible above the soft tissue following closure. I find that this is not often the case if a 1.5 mm abutment is selected.
2. A 2.5 mm MUA is not so excessively tall that I feel it starts to encroach on restorative space.
When do I use a 1.5 mm abutment?
There are four occasions on which I will select this MUA height.
1. A palatal root implant or posterior transpalatal implant. Typically, reduction tapers off posteriorly, and the restorative space can be a little tighter. I am also not placing palatal root implants “subcrestal”. Therefore, a 1.5 mm abutment tends to accomplish the goal of prosthetic access while saving an additional 1 mm of restorative space.
2. A short implant posterior to the mandibular foramen. For the same reasons listed above, a 1.5 mm MUA is the optimal choice.
3. Excessively thin tissue, where a 2.5 mm abutment is clearly not needed (this is rare).
4. An unusual case where significant reduction is required, but limited bone stock is available (maybe, for example, a severely high smile). In these cases, every millimeter counts, and saving one millimeter by using a 1.5 mm abutment is indicated – even if restorative access is difficult.
When do I use a 3.5 mm abutment?
1. Almost never.
2. However, once in a blue moon, an implant is placed significantly subcrestal to achieve adequate torque. In some of these cases, a 3.5 mm abutment may be required to clear tissue height.
3. In cases with excessive tissue height but adequate restorative space, I will occasionally opt for a 3.5 mm abutment rather than performing tissue thinning (Again, neither of which occurs on any significant basis).
While I use a 2.5 mm MUA most of the time, the goal is never to use any abutment arbitrarily. While it does not need to be complicated, we should always understand why we are using the MUA height we have selected and do so strategically in each case.
Here’s to doing even the little things with great attention and detail.
“Take a simple idea and take it seriously.”
Charlie Munger