

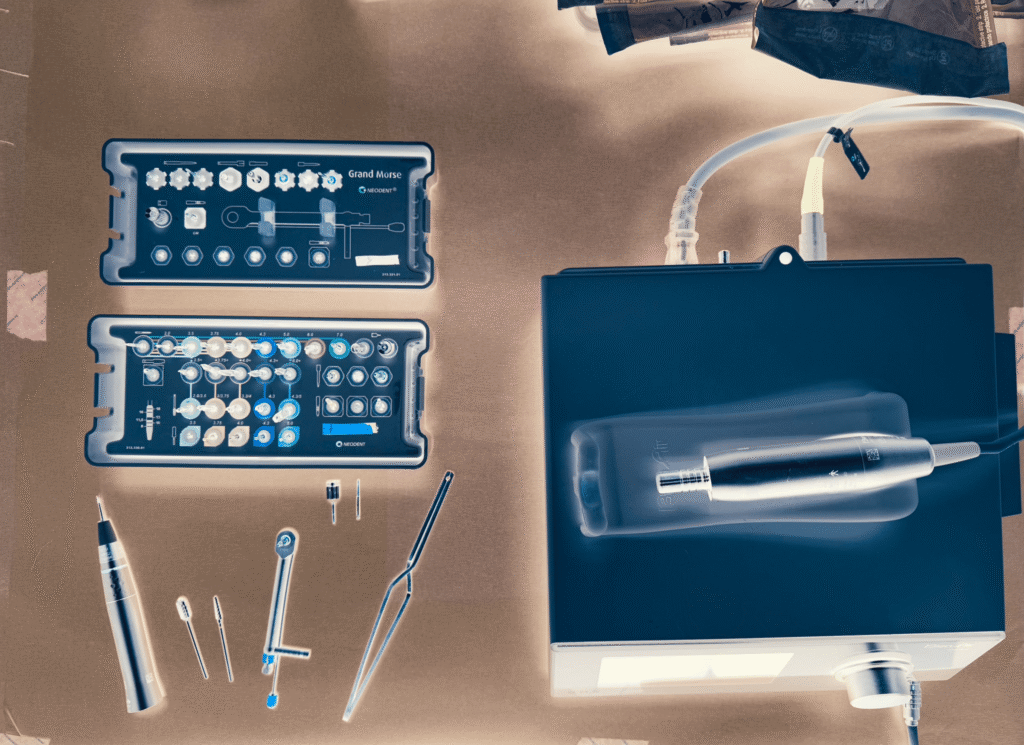
“What are you doing?!? Do NOT change those drill settings!!?”
I may or may not have said those words with passion a few times in the operating room.
I am very protective of my pre-programmed drill settings.
Today, I want to share with you those ever important and beloved AOX drill settings.
Below, I have organized how I have pre-programmed my drill for each step of a full-arch case.
Drilling Unit: Bien Air
Handpieces:
1:2 Straight “Impaction” Surgical Handpiece
20:1 Contra-Angle Handpiece
Drill Settings:
Extractions & Bone Reduction:
50,000 RPM
2.9 N-cm (Bien Air default at 50,000 rpm)
1:2 Straight “Impaction” Surgical Handpiece
Implant Osteotomies:
1100 RPM
54.8 N-cm (Bien Air default at 1100 rpm)
20:1 Handpiece
Note that although my implant osteotomy RPM setting is 1100, I do not often depress the pedal to the full extent.
Here’s the ~RPM Usage I Actually Reach at Each Implant Osteotomy Site:
Maxilla: 400-600 RPM at sites #4/13 & 600-800 RPM at sites #7/10
Palatal Root: 25-100 RPM
Mandible: 600-800 RPM at sites #20/29 & 800-1100 RPM at sites #24/26
Implant Insertion:
25 RPM
50 N-cm
20:1 Handpiece
And remember – Don’t touch my drill settings. Thanks.
Matthew Krieger DMD
P.S.
The implant osteotomy RPM values are averages.
Yes – there are times I drill slower or faster than those shown.
Your drilling unit or system will likely differ slightly in the settings it offers or the settings that are optimal for that system.
These values also depend on what type of handpiece you are using.
And yes, I drill slower than most. Here’s why.
“There is no magic in magic, it’s all in the details.”
Walt Disney
Q & A with Dr. K

“I noticed you place your sutures in saline. Why?” |
3.0 Chromic Gut tends to have “memory”. So when it is pulled directly out of the packet it wants to retain the “kinks” and “bends” it had while folded in the package.
In my hands, it is more difficult to close with a suture that has multiple bends in its body.
Therefore, my team places the suture (opened from the plastic wrapping, but left inside the paper packaging) into a bowl of saline about 5 minutes before I’m ready to close.
I find that 5 minutes in saline eliminates these “bends” and makes the handling of the suture easier.
I would caution you not to leave the suture in the saline too long, however, as this can weaken the stitch and make it more prone to breaking/tearing when you are tying the suture.